Jobs: Documents - Web
Table of Contents
The "Documents" tab of a job card is where you can upload important information that all workers on the job can access directly in the DSPTCH mobile app.
Creating a New Document
To create a new document, navigate to the "Documents" tab on a job card by clicking on the "Jobs" tab in the primary navigation bar at the top of the page, then click the job card of the intended job to view it. Once the job card is opened, click on the "Documents" tab in the sub-navigation bar. Once on the "Documents" page, click the "+ New Document" button near the top right corner of the screen.
See video below for a demonstration:
There are a few options when creating a document:
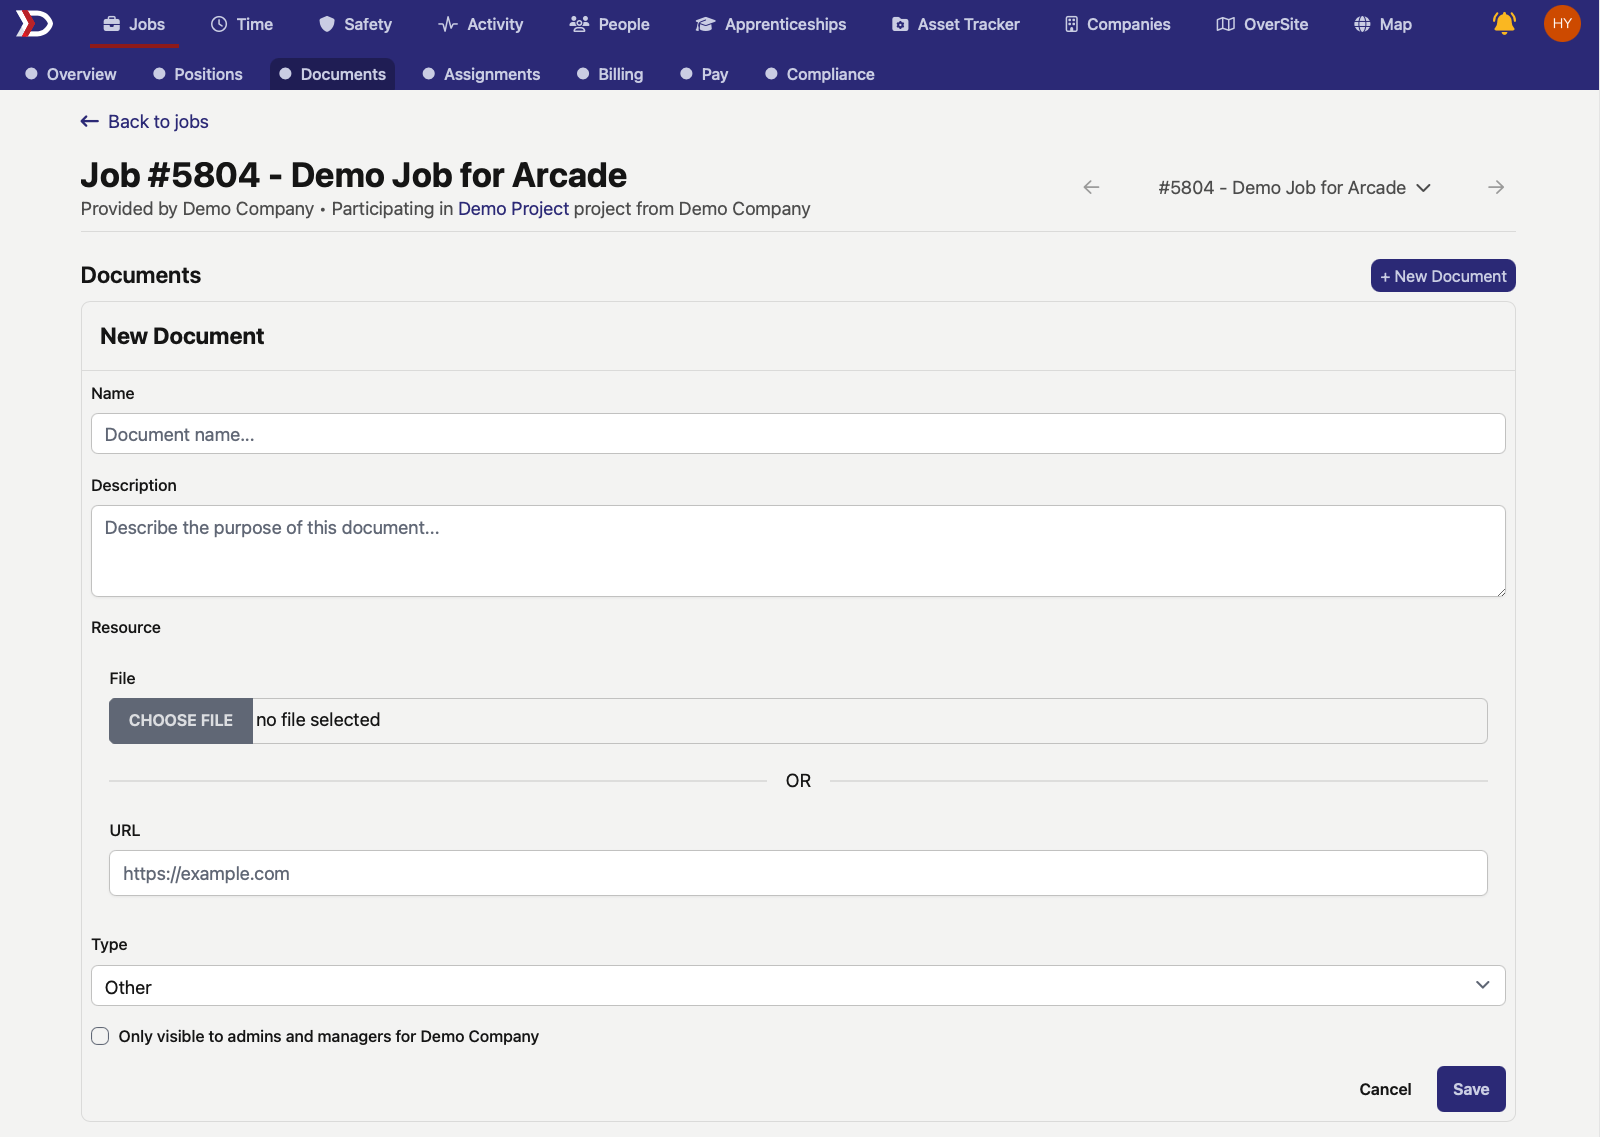
- Name (Required):
- Write in a name for the document.
- This name will display to all workers on the job, so ensure that it makes the file easy to identify.
- Description (Optional):
- Add a textual description of the document.
- File Upload (Required):
- Click the "Choose File" button and select the document to upload from your saved files.
- Type (required):
- Use the dropdown list to identify which type of file you are uploading.
- These options should cover all file types that may be needed:
- Certifications
- Checklist
- Written communication from the Department of Labor
- Emergency Action Plan
- Enterprise Resource Planning
- Map
- MSA
- Photo of PWA-compliant job onsite poster
- Parts Instructions
- Photo
- Purchase Order
- Resume
- Work Order
- Other
- Privacy Toggle (Optional):
- Toggle "Only visible to admins and managers for Your Company" on for the document to only be viewable by users with Admin or Manager permissions within the company. In other words, Technicians and Field Leads will not be able to view the document.
Viewing Documents on DSPTCH Web
To view a document on DSPTCH web, navigate to the "Documents" tab on a job card by clicking on the "Jobs" tab in the primary navigation bar at the top of the page, then click the job card of the intended job to view it. Once the job card is opened, click on the "Documents" tab in the sub-navigation bar. Once on the "Documents" page, click on any document to open it for a closer look.
See video below for a demonstration:

After completing the steps to create a document, the file can be viewed directly in the web app by clicking on its name.
Viewing Documents on DSPTCH Mobile
Workers on the job can quickly access uploaded documents within a few clicks on the DSPTCH mobile app.
To view documents, navigate to the "Jobs" tab from the dashboard, open an active job, and access the "Files" tab on the job card, and select a document. See the video below for a demonstration:
