Forms: Form Elements - Mobile
DSPTCH has a first-class form feature with many possible ways to input data. This article will go over all types of inputs you might see when submitting a Form, as well as some other info about forms in DSPTCH.
Toggle Desktop Mode
Sometimes, a form might have an embedded diagram or a complex table that's somewhat difficult to normally see. While Editing a Form Submission or Viewing a Form Submissions, you can select the Toggle Desktop Mode to change the Form's layout.
In Toggle Desktop Mode, the Form will no longer automatically fit to your screen. Instead, the page of the form will appear as a smaller version in the center of the screen.
However, now you can pinch to zoom to see the Form's content at your preferred size.
To fit the Form back to your screen, press the Toggle Desktop Mode button again.


Pinch-to-Zoom
On both Default view and Desktop Mode view, you can Pinch-to-Zoom to increase the size of the text.
Conditional Logic
When filling out Form, there may be some questions that are dependent upon previous answers. Where these questions are entirely depends upon how the form was created. Just be sure to look out for new questions that pop up when filling out forms!

Auto-filled Field
DSPTCH will autofill information into the Form when it can. Some possible autofill fields are Name, Email, Submission Date, etc. The fields that will be auto-filled depends on the form setup.
You can still edit auto-filled fields if necessary.
Question Types
A Form can have multiple different types of inputs, such as Dropdowns, text fields, date pickers, photo uploads, etc. This section will go over each one of them and give examples of what they look like.
Date Fields
Date fields will bring up a calendar to select from. Choose the date and hit Done when you've selected the correct date.

Radio Buttons
Also known as multiple choice, tap the correct option. You can only pick one!

Checkboxes
Similar to a Radio-Button, but can be multi-select. Choose all appropriate options by touching the checkbox.

Dropdown
When you touch a dropdown menu, it will bring up all available options. You can narrow down the list of choices by using the search menu at the top.
When your choice is selected, hit OK in the bottom right corner.
To clear all currently selected dropdown options, hit the eraser button.


Upload Pictures/Files
DSPTCH forms allows you to upload pictures from your phone. Questions like these will look like the picture below:

Tap Select File to see your options for uploading.
You may need to allow DSPTCH access to photos on your phone.

After selecting your photo(s), you should see an item for each one like below:

To remove one photo, tap it to bring up a garbage can icon, and tap it again to delete it.
To remove all photos, hit the eraser button in the top right corner.

Take Photo
Some Forms allow for capturing photos directly into the DSPTCH app. If allowed, A Form Question will have the Take Photo option.
DSPTCH recommends you use your phone's native camera app to capture photos, because you can take multiple, higher quality photos.

To use the Take Photo feature, you will need to give DSPTCH permission to access your Camera app.


iPhone Camera details:
Tap anywhere in the black bar to see the camera settings.
Tap the screen to "capture" the photo. If the settings are displayed, the ⏸️ button will switch to a ▶️ button.
Press the ✖️ button to save the photo.

If your phone has both a front and back facing camera, to switch the camera direction, press the 🔁 button in the top right corner of the Form Question.
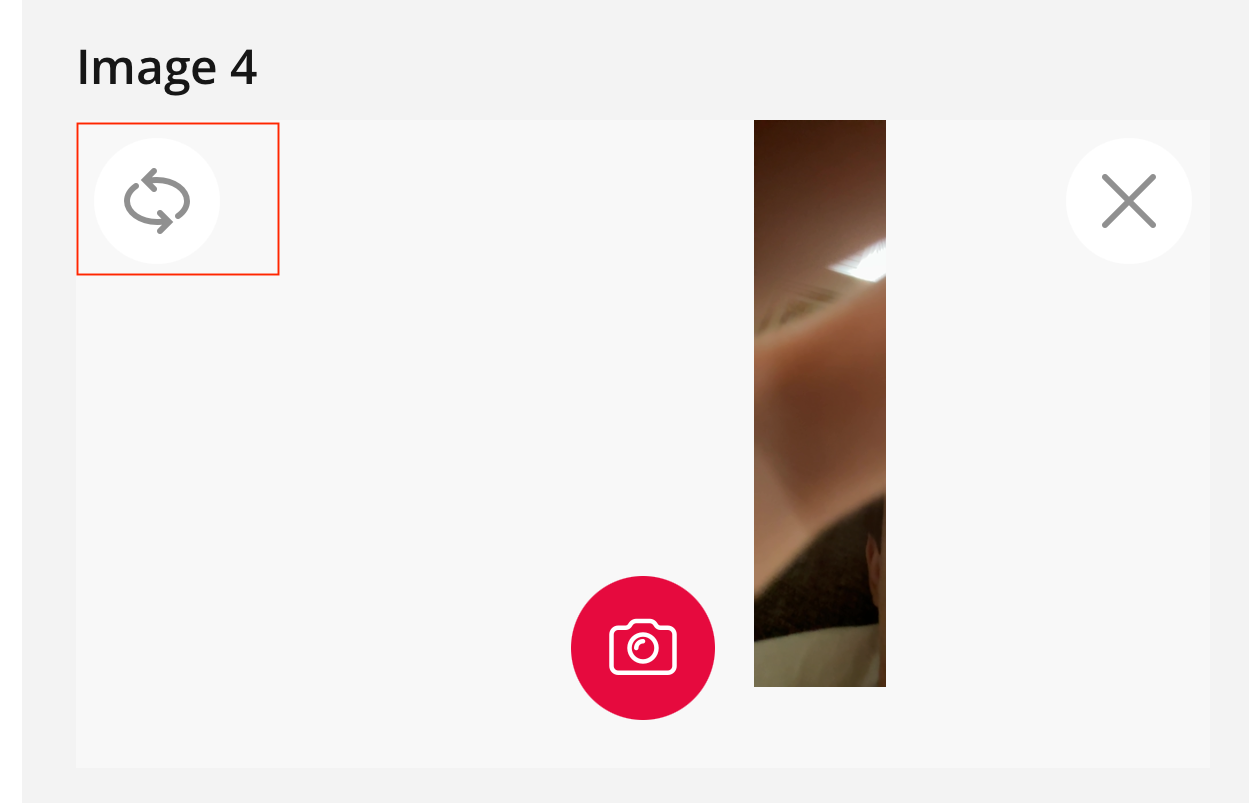
To delete the captured photo, press the ✖️ button in the top right corner of the Form Question.

To save the captured photo, press the red 📷 button in the bottom center of the Form Question.

To add more photos directly from DSPTCH, click the grey 📷 button in between the Upload and Erase button in the top left corner of the Form Question.

Text
Free text, fill out by typing in your answer. Some text fields may have a character limit.

Signature
Some forms have a field that require a signature. The signee could either be yourself or an external party.
- Tap inside the signature box
- Draw your signature with your finger
- Click the Erase button to remove the signature


Form Pages
Some Forms will have Pages, based on how the Form was created. Pages can sometimes make skipping or requiring certain parts of the form easier.
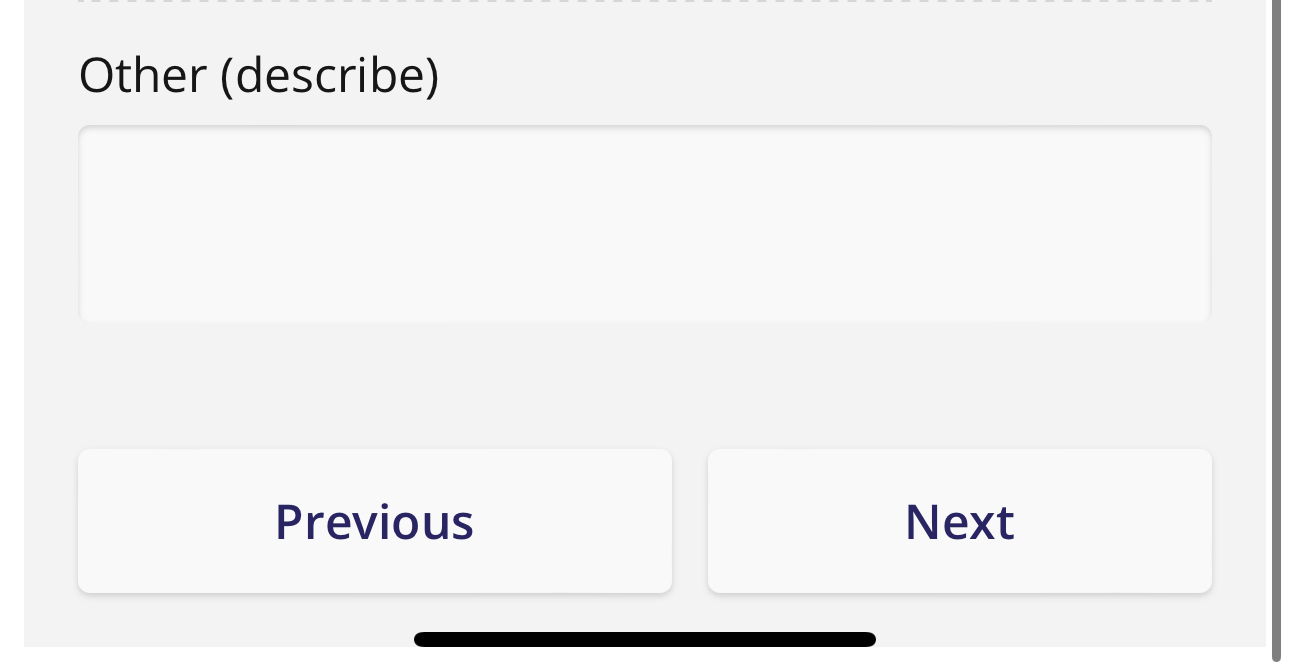
If you are required to submit a Form with Pages, You will see three possible options at the bottom of the page.
- Next
- Next / Previous
- Previous / Complete
These buttons allow you to navigation through the various pages of the Form, and submit the Form.

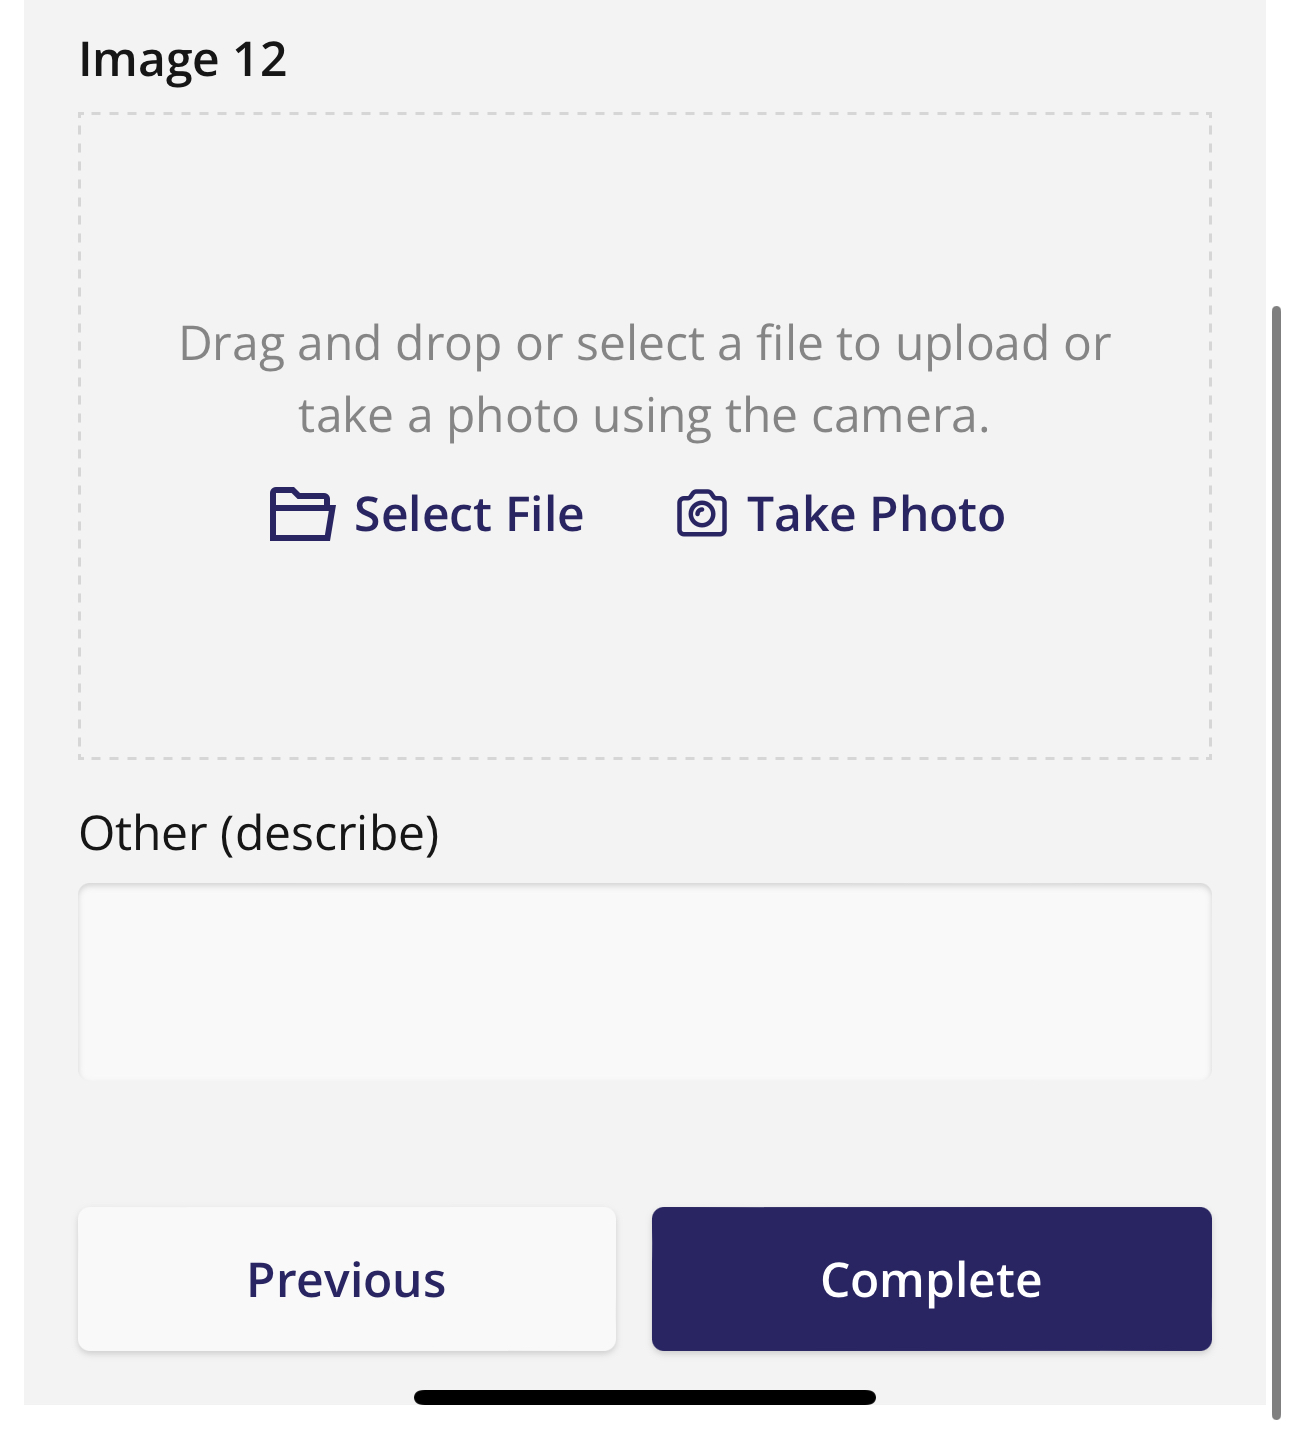
Submitting a Form
Once you are finished filling out your form, press the Blue Complete button at the bottom of the screen!

You will be able to see your submissions back on the main form page.
Required Fields
Sometimes a Form will have fields that must be filled out prior to submitting the form.
Required fields are marked with a red asterisk *
If you forget to complete a Required Field, upon Form Submission, the missing required fields will be highlighted in light red. You must fill out these fields to Complete the Form.
